If you have a dog, it is not only a faithful four-legged friend but also a responsibility to care for it and make sure it is healthy and happy. After all, in response to the dog’s devotion and unconditional love it gives you, you need to show your concern for it. Here we provide a guide on how to create a dog house?
For example, if a pet lives outside, it needs a house where it would hide and keep warm at night. By the way, you can create a dog house with your own hands, even without building skills.
If you are not too much into the building, check out the amazon dog house review 2019. You may find a dog house there or look for some inspiration to build one by yourself.
Now, let us see how to create a dog house, what you need for it, and how much time it will take.
Essentially, it is better to construct your dog’s house by yourself, as you will not need to pay extra for the features you do not need and the work you can do by yourself.
Plus, creating a dog house will also mean some quality time with your pet. In fact, creating a dog house takes only a day if you buy everything you need for it. Thus, you can easily learn how to create a dog house by yourself. Obviously, if you are not a professional constructor, you will need some time for it.
However, the time you spend on it will be the largest expense in this process in case you have all the necessary materials. At the same time, if you have nothing to create a dog house, you will have to spend some money on the materials. So, save a weekend while the weather is warm and prepare for creating a dog house.

Where to Start?
Before starting to make the house for your canine friend, you need to figure out how big it will be.
You need to think this stage through very carefully since the comfort of your dog depends on the measures you put in the dog house construction. If the dog house is too small, your pet will not stay in it, and if it is too roomy, it will be cold.
If your pet is fully grown and will not get any bigger, you can simply measure the dog and mage a custom house based on these measures. Thus, to calculate the depth of the house take the length of the dog and add 2 inches. The width of the house works the same with the dog’s height.
For the door hole, add 2 inches to the dog’s chest girth and 2 inches to the height of your dog at the withers. If the dog is not fully grown, use the measures that are average for the breed.
How to Choose the House: Conditions to Consider
There are other things, apart from the convenience that depends on the size of the dog house: if you do not want your pet to be cold at night, especially during the winter period, you need to approach the house size seriously.
Therefore, the winter is cold in the region you live, you need to make sure that the house fits the requirements regarding the warmth, so it is better to follow a dog house plan for winter.
If you live closer to the south, then you can make it a little larger by exceeding the recommended figures by two inches, which is allowed in a dog house plan for summer.
Nonetheless, the main difference will be in the additional layer in the walls of the house. Likewise, there are also indicative dimensions that you can keep to when making dog housing.
Thus, you can personally calculate the measurements of the dog house you are working on. In this case, the do-it-yourself house will be at least 37 inches in height and 55 and 40 inches in width and depth, respectively.
If you have a dog of different large breeds, it works just the same. If your dog is of medium size, the measures go 32 to 50 to 30 inches in height, width, and depth respectively.
Parameters
You can follow the average dog size parameters or measure your pet. If it is easier for you to calculate by the breed, here are the standard measures for the dog crate sizes.
Dog size Breeds House measures WDH, inches hole measures, inches small Pugs, Pekingese, Dachshund, Fox Terrier 28/22/24 12/16 Medium Boxer, Chinese Fighting Dog, Rottweiler45/30/32 14/20 Large Great Dane, Caucasian Shepherd 53/40/37 16/24
When you know the size of your dog and make all the maths, you can start thinking of how to make a homemade dog house in the form of a sketch.
Obviously, the final results will be different from what you draw because of the structure and the background color, but you need it anyway not to miss the details or mix anything up.
Before you pass something, you need to decide what you want to do, because there are a lot of types of dog kennels. And here it all depends on several factors: on the breed of the dog (large-small) and the financial capabilities of the owner.
The result can be either an ordinary, primitive wooden box or a small designer castle in which your dog will live.
All of them can be conditionally divided into several dog house plans:
- one-volume dog houses
- dog houses with a vestibule;
- single slope;
- pitched roof.
You can stick to the golden middle so that your dog can comfortably sit in its home, sleep, and relax there. Well, for you, accordingly, it would not be too ruinous.
Recommendation
There are recommendations that experts suggest following.
For example, apart from the decorative aesthetic purposes, the entrance hole should be located on the wider wall of the house. It will be more comfortable for the pet.
Additionally, you should not place the hole in the middle of that wall, as placing it on either side will give your dog privacy and will be better in sustaining the warmth.
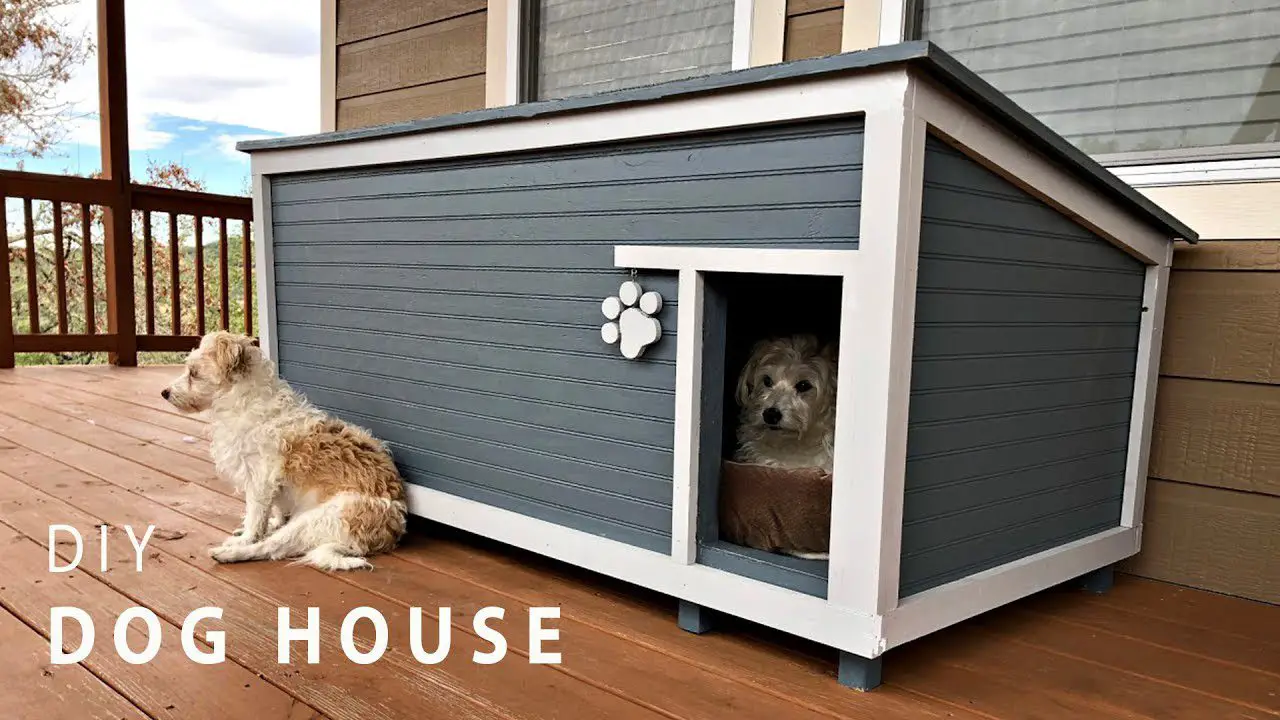
The type of dog house depends on your plans on how to build a dog house roof. If you are not an experienced woodsman, the best option for you if to make this dog house with the shed roof. However, the gable version looks more elaborate, and it is still doable, only takes more time and calculations.
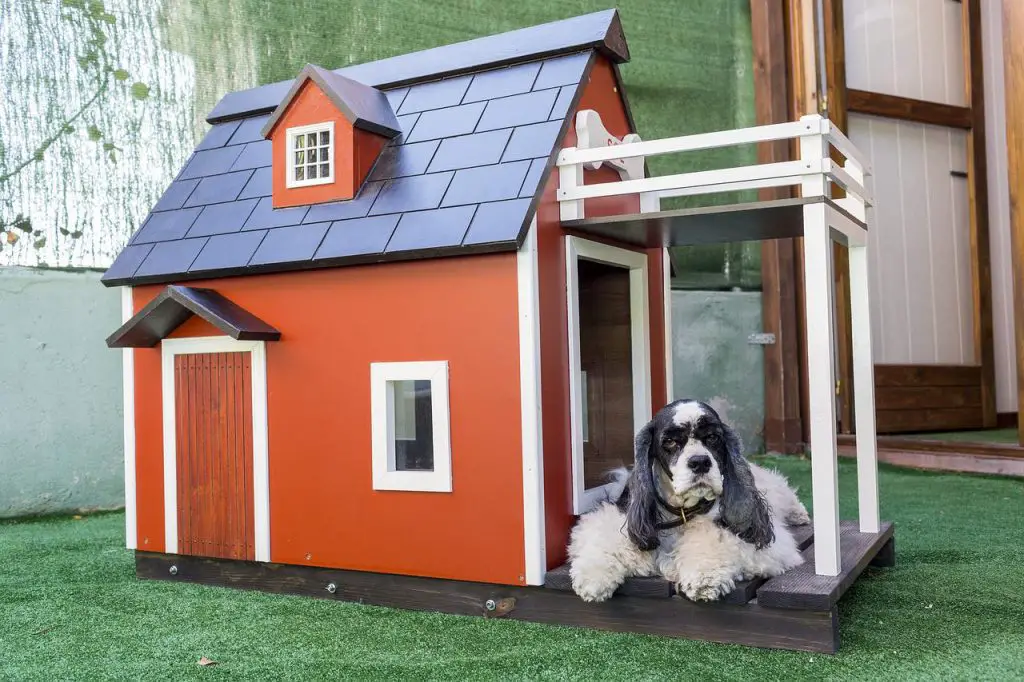
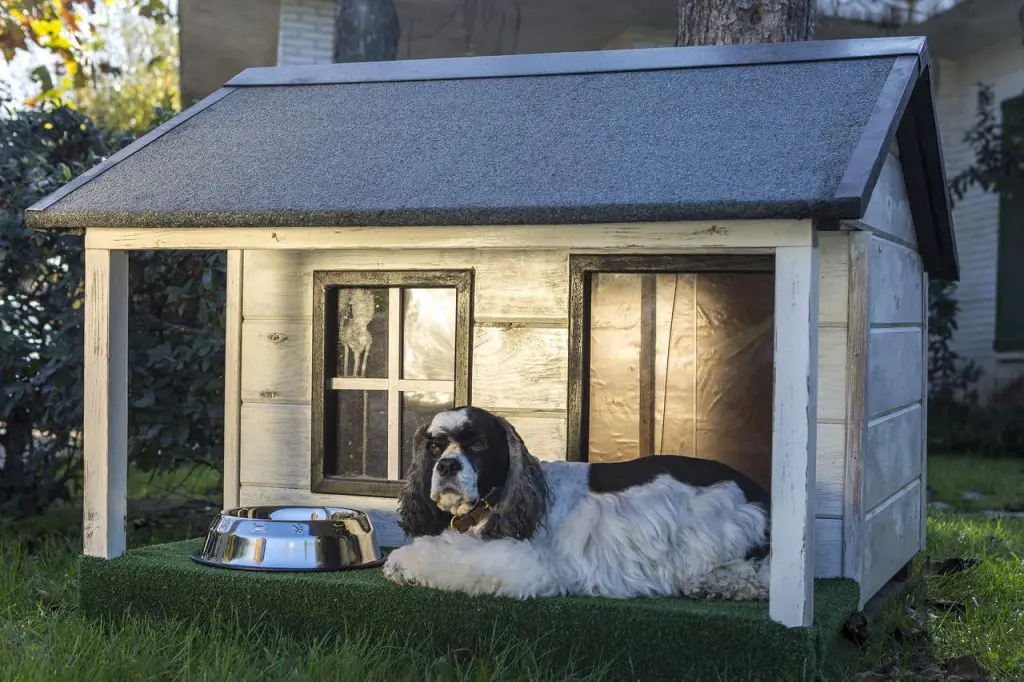
If you feel inspired, you can even make a tiny attic on the roof. It will not be of much use for your dog, but it is a great place to store its toys or food. Also, you can construct a do-it-yourself dog house with a canopy: it will look much more interesting.
But this same detail performs a practical function, as it will allow the animal to look out into the street in the rain without the risk of getting wet. Having sketched the structure, it is worth making a detailed drawing of it.
It will be less likely to make mistakes with it, and it also simplifies the calculation of the required amount of materials.

Process of Dog House Building
Choose Location
The very first step in the dog house building process is planning its location.
Before proceeding with the construction of the dog house, it is necessary to choose a dog house spot, taking into account the following requirements:
- find a dry and lit place, best on a hill;
- the dog needs a good view of the area;
- the house should be located in a place that is protected from the wind; it is especially crucial in winter;
- provided that the dog is on a leash; in the radius of its movement, there should not be trees, shrubs, or hemp, all that the dog can twist or catch on chain links.
When you find a good location for your dog house, you can begin the process of construction. Now, you can proceed with the installation of the structure according to the sketch you made previously.
Materials
Before making a dog house for the dog, you need to make sure you have the sketch, the materials, and the instruments are there.
It is better to use quality natural materials, such as different kinds of wood. You can pay closer attention to such types as coniferous wood. It is affordable and serves long.
However, before starting the construction of the dog house, decide on the location where it will stand. Your pet’s home should fit seamlessly into the landscape of your yard while being comfortable for your dog.
For example, there should be some building nearby, in the shadow of which the dog can rest in the hot season, it should not be a lowland, because moisture will accumulate, etc.
Then, proceed to the construction.
Tools
To build that house, you will need some tools:
- saw;
- hammer and nails (10 nails per 40 inches);
- screwdriver and screws;
- pencil with the tape measure.
To make a frame for the future dog house, you need to find bars that have a width of at least 1.5 to 1.5 inches. This thickness is necessary to make it durable and solid. As for the sidewalls, you can use an ordinary board or plywood sheets, and they will work perfectly well.
For the floor, it is fine to choose a floorboard material. For the additional decoration of the dog house, you can use decorative slats.
If the winters are rough, you will also need to use insulation in your dog house. The materials must be well-resistant to humidity and moisture for it hot to rot. For this purpose, use specific polish or coat for the wood, and the whole house will serve long. You do not need any extraordinary tools.
These are usually available at your house. These are nails, a hammer, a chisel, and a hacksaw. To calculate how many nails you will need, consult your sketch and use approximately 10 nails per 40 inches of jointed pieces. This set is enough to make a do-it-yourself wood dog house.
Specific materials
The dog house should have insulation, for this, it is best to use natural materials, such as:
- felt;
- batting;
- styrofoam;
- mineral wool.
For your dog house roof, use these:
- metal;
- types of a soft roof;
- slate.
For external cladding materials, use these:
- a wood-lining;
- plastic lining;
- blockhouse.
The number of materials you need will depend on the size of the house you are building. Thus, the bigger your pet is, the bigger the dog house wood quantity you will need.
Based on the parameters above, you can calculate the number of materials, such as dog house nails and dog house windows materials.
Materials Tools Metal/Slate/Soft roof material hammer Batting/Mineral wool/Styrofoam for isolation Square Wooden/Plastic lining/Blockhouse for External Cladding Screwdriver Short Nails for Shingles Screws10 nails per 40 inches of jointed pieces measuring Tape Paint Dust Mask Short Nails for Shingles Paint BrushEye and Hearing Protection

Steps in Constructing the House
- When you have the sketch and the materials, you can start the construction process. The process of any house building starts with the base, that is, the floor. Cut the bars with a section of 16 × 16 inches to the size of the measurement and fasten them with a self-tapping screw into a rectangle. If the dog is large, the frame needs to be reinforced with an additional cross member or two because a large bottom will wear loose. To make the floor warm enough, make it in two layers, laying insulation of your choice between them. Lay the frame covered with boards so that the bars are on top. Cover the inner surface with glassine (it can be attached with a stapler). After that, polystyrene is placed on the glassine, and the final floor of the dog house is filled on top.
- Now you need to take care of the pillars on which the house should stand. It is necessary so that air circulates under it, then the structure will last longer, and moisture will not stagnate in it. Attach pillars 2-3 inches wide to the floor.
- Next, attach side racks to the finished bottom, and fasten the walls of the house to them. The frame is made of 3-inch timber. Two side racks should have the height of the dog house, and two should be 2-3 inches longer to form a roof slope.
- Longer racks should be installed in front of the dog house. Do not forget about the hole in the front or side of the dog house. In the center of the sidewalls, vertical bars are additionally filled. Use metal plates to strengthen the frame at the internal joints.
- On the outside, the frame can be sheathed with lining, and from the inside, it can be insulated in the same way as the floor was insulated with glassine and polystyrene. You can replace the foam with mineral wool. In the inner part of the dog house, on top of the second layer of glassine, you need to fix plywood or chipboard. Fasten the material with galvanized nails.
- Choose small nails and hammer them well so that the dog does not get hurt. Now you can make the roof, which should be removable. Then it will be easy to clean the house periodically and prevent parasites.
- Construction of the dog house: Vertically attach four 1.5 × 1.5 inch bars to the bottom of the dog house, which will serve as the basis for the walls. Between them will strengthen the intermediate bars equal to the height of the dog house, which will serve as a support for the roof of the structure. To indicate the entrance to the dog house, you need to add two bars 1.5 × 1.5 inches. For the bottom deck, saw it in length and width, and lay it on a platform or a table. Then, make a rectangle shape and connect the edges with screws. The bigger the animal and its house is, the stronger must the frames be, so pay attention to it if your dog is large and add some timber cross-pieces. Then, connect the boards to the frame.
- Saw the 1.5 × 1.5 inches thick ledger into four parts. They must be equal to two lengths of the dog house height plus approximately 3 inches. Then, place the bars vertically at the bottom corners and fix them. For the front side of the house, place the longer bars. Also, this side will function for the roof slope. When it looks even, fix it with nails or screws and the necessary level. Then, place vertical bars in the center of the wall and also two smaller bars near the hole to support the whole construction. If you need to solidify the frame (if it is quite large), use metal plates or joints. Do not forget that if the house must be insulated, you should add the additional measures for that layer.
- Lay the broad-trimmed frame, bars on top. Then, you need to cover the inner surface of the frame with glassine and fix the staples. Afterward, shape the foam for the frame and carefully put it between the bars. The insulation and the bars must be the same size, and you do not need to make either of them smaller. When the foam is there, cover it with another layer of glassine.
- The next step is the installation of the roof. The main thing is that the roof fits snugly against the walls of the dog house, but it is advisable not to hammer it tightly. It is better to make it fully or partially removable to facilitate the cleaning and ventilation of the dog house. For the manufacture of the roof, you can use wooden blocks of 1.5 × 1.5 inches, of which the perimeter is knocked down, on which sheets of plywood are attached.
- For a pitched roof, you need a sheet and 1.5 × 1.5-inch bars. Then, you need to measure the inner perimeter of the house and adjust the frame according to this perimeter. Then, cut out the same size and put it into the frame. It must fit tightly. Then, stuff the foam between the bars, cover it and adjust it with a staple. It must not shake loose. Afterward, cover it with a larger sheet of plywood. It must cover 3 inches in the back and 5-6 inches in the front. The house needs this part of the roof to hole and walls from the rain. Then, attach it to the whole piece using hinges.
- To warm the ceiling, you can use glassine, polystyrene, or mineral wool. Insulators are placed on the first sheet of plywood, and then the second is stitched. Thus, a double insulated stream was obtained.
- To protect the house against humidity, the roof can be covered with roofing material, tile, or any other type of soft roof.
- Sheathe the outer walls of the dog house with a clapboard.
- When you are done with the frame, you need to sheath it on the outside and insulate it on the inside. After the insulation, fill all the gap spaces with foam and coat the insulation with glassine. Then, make sure you fastened it with small galvanized nails. Finally, double-check if the hats are nailed deep fore your dog not to get hurt.
NB: Do not forget to treat the house from the outside with a conventional antiseptic or special impregnation and let it dry. Then, coat the bars carefully with a primer mixture to make it suitable for your dog. Again, turn the box over, draw up a hole, and ends of the lathing with wooden platbands.
Dog House Plans
Crooked dog house plan
If you want your pet’s house to look unusual, you may spend some extra time and effort to make a crooked house for your pet. In fact, it is built just the same as a regular house described above.
But the complication is in making the textures of the house looking uneven but still fit each other and be a warm dwelling for your canine friend. To make a crooked house, you can follow the instructions above with a small exception.
The materials for the walls must be thicker so that you can polish the uneven texture of the walls for them to seem crooked. Also, you need to double-check the solidity of the construction at every stage, including the construction of the bottom, pillars, walls, and the roof.
If you decided to go to the crooked house, you need to keep in mind that it will be challenging to insulate it properly if you are not a construction professional.
For that reason, a crooked dog house is a suitable option for warm regions, where the winter is not rough, and your dog feels comfortably warm at night.
Two-dog dog house plan
If you have two dogs, there are three options you can follow:
- Two separate dog houses
If your dogs are large, the best choice for them is to have a separate house for each. They will feel comfortable in the personal space and will know they have their spot. The plan for each house is described above in all the details. Although making two separate houses takes more time, it is impossible to err in creating each. If you have enough space in your yard, you can organize the area where your pets will play and rest by putting their houses there.
- A jointed dog house
A jointed dog house is one with two holes and two rooms under a shared roof. To make a sketch and build it, you need to double the measurements from the wooden dog house plan table above and make an additional wall that will separate the rooms. Such a dog house goes with any roof, depending on the way you want it to look. Regarding the time spent, this type of house will not take any longer than a regular dog house. However, the only extra time you will spend on it is separating the rooms for your pets and working on the holes for the entrance.
- A huge house for two dogs
To build this type of a dog house, you also need to double the measurements. However, if it is a single house with no walls inside, it will have only one hole. Your dogs will just sleep there together. This type of shared dog house is suitable for medium and small dogs, for the large ones may not feel comfortable in it.
Square dog house plan
Usually, a dog house is the shape of a rectangle for the dog to feel comfortable and warm at night.
The measures in the above table must fit the length and width of your dog. However, if you decided to build a square dog house, you need to take the maximum measures for your pet to be able to move inside.
We must warn you that in this case, the house may turn out too roomy, which is why it may be difficult for your dog to sustain heat. Thus, a square dog house is also better for you to live in a warm climate, and your god will feel comfortable living in it.
However, you can always have a spot for your friend inside the house as well. If your dog is small, check out dog kennels for small dogs so you will know for sure your pet is safe and healthy.


